
How To Make Lipstick Last Longer
When you’ve taken time to perfect your lipstick application and achieve that bold-coloured pout, the last thing you want is for it to smudge or fade throughout the day!
At Maybelline, we believe in colour that is both smudge and budge-proof. That’s why we’ve created this guide to help keep your colour in place, so you too can learn how to make your lipstick last longer.
The secret to long-lasting lipstick starts before you even apply the product and continues with finding the perfect long-wear lipstick to suit your lifestyle. What do we want from our lippy? A lip product that can weather all day wear: eating, drinking, laughing, going out and about, and kissing, of course!
Discover our top tips below for achieving a perfect pout that lasts!
Step 1: Prep with a lip care routine
Crisp and long-lasting lipstick starts with a solid lip care routine. You want to create a smooth base to apply your colour to and give it the best chance of wear, come day or night.
Weekly exfoliation with a lip scrub will help remove any dead skin that may prevent lipstick from staying on. Take a small amount of lip scrub on your finger and apply it in circular motions. Be careful not to overdo it - lips can be sensitive! This step is particularly important in cold, harsh weather that leads to cracks or lip chapping.
Another top tip? Moisturising lip balm. To keep the colour from budging, a lip balm will help provide a smooth base for your long-wearing lipstick. We recommend applying a nourishing lip balm or petroleum jelly every night as part of your lip care routine to ensure you wake up with supple, soft lips every day.
And to top it off, why not show your lips that little extra TLC with a lip primer? Apply before lipstick application to create a smooth base. Lip primer can prevent your lipstick from budging or smudging and make lipstick last longer.
Step 2: Start with a long-lasting lip liner
Want to give your lips that extra definition? Get that cupid’s bow looking crisp with a long-lasting lip liner. Follow the outer edge of your top lip, going slightly outside the border for a plumped up look and repeat for the bottom. Going for a lip liner colour in a different shade to your lipstick? Gently blend it into your lips with your finger before going in with your second product.
Using a long-lasting lip liner can help your lipstick stay on all day by preventing smudging or feathering outside the lip line. Lip liner can also help you create a defined shape for a stand-out pout. Plus, it helps enhance the colour depth of your chosen lip shade.
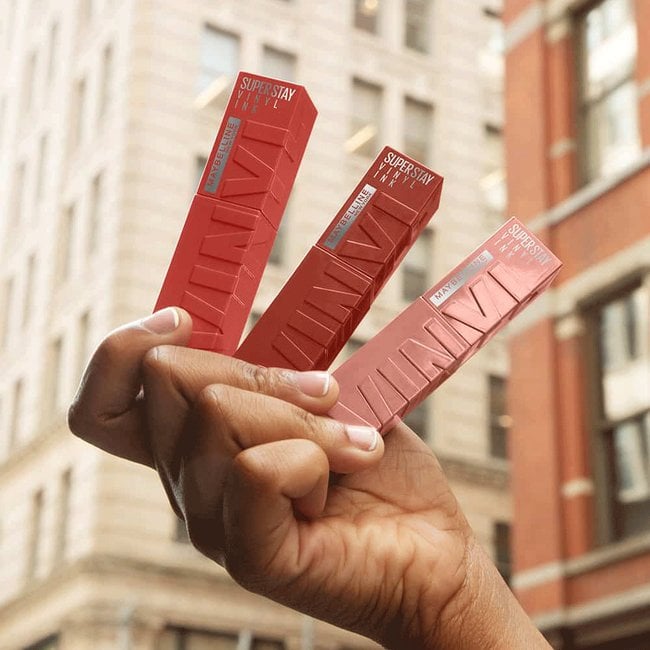
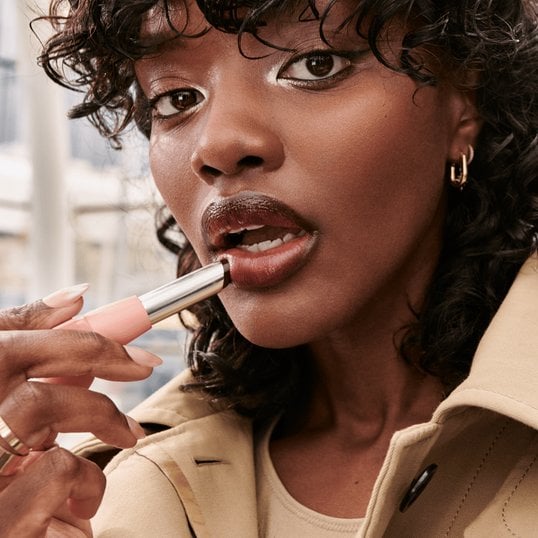
Step 3: Use a long-stay lip tint
Want lip colours that last even longer? Say hello to our long-stay lip tints or matte liquid lipsticks!
A matte lip tint can create a smudge-proof lip look without having to worry about colour transfer. Lip tints and liquid lipsticks are often designed to be transfer proof so your pout will last all night long (no more touch-ups, thanks!)
Liquid lip tints also allow for versatile application methods. Whether you’re looking for a bold, all-night-long colour, or a blurred and subtle everyday tint, lip tints are buildable and can be customised to create exactly the look you want.
Step 4: Try setting your lipstick with powder
Our makeup artist-approved lip tip? To help your lipstick last longer, seal the deal with powder.
To set your lipstick, take a small amount of powder on a large fluffy brush and lightly dust over the lips. The powder will help prevent the colour from fading and reduce the chance of the lipstick smudging throughout the day.
Alternatively, you can use a tissue to blot your lipstick. This technique sets lipstick by removing the excess layer from the top and preventing it from feathering, leaving a perfectly set and matte lip look.
Another tip? Try applying your lipstick or liquid lipstick in light, thin layers to maximise longevity. This ensures even coverage over your whole lips and prevents any patches from fading faster than others.