HOW TO DO A CUT CEASE
CUT CREASE EYESHADOW TUTORIAL
Do you want a look that adds depth, definition, and shape to your eyes? Cut crease eyeshadow could be the perfect addition to your makeup skills, particularly if you’ve got hooded eyes (although they’re a gorgeous look for everyone else too!). Get the lowdown on how to do a cut crease with our simple cut crease tutorial, along with tips for how to set your eye makeup.
What is a cut crease?
First off, what is a cut crease? Essentially, it’s a technique where you use different colours of eye makeup to cut across your eyelid, creating a super-sharp contrast. Rather than blending the cut, you’ll form a clear crease on the eyelid. The crease shows off your eyes, creating the illusion of depth, while the extra space on the lids gives you a fantastic canvas to exhibit your favourite eyeshadows.
Although it might seem like a modern technique, cut crease eyeshadow has been around for ages. In fact, it was used to draw attention to actresses’ eyes back in the days of black and white movies! Want to know how to do a cut crease and get some of that early Hollywood glamour for yourself? We’ve put together a cut crease tutorial so that you can easily copy this popular technique at home.
Check out our cut crease step-by-step guide, right here.
Colour
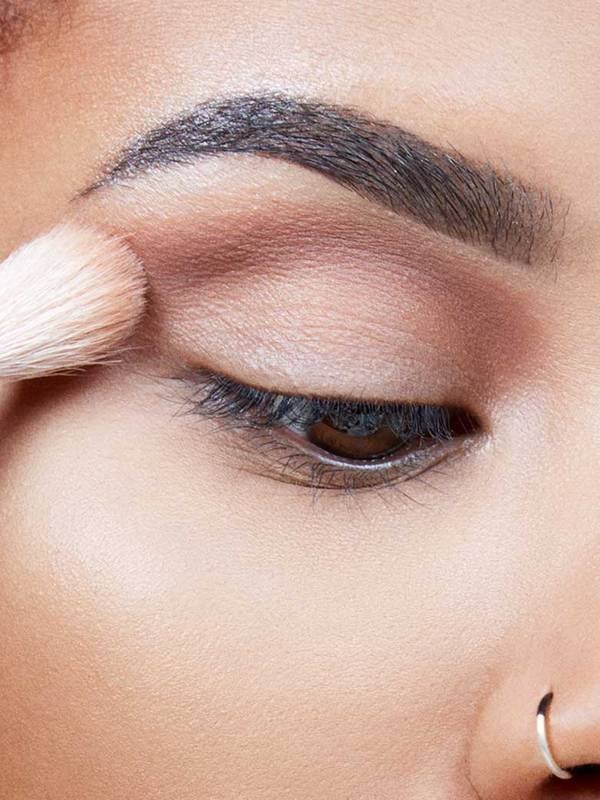
First up, you need to swipe on some primer. If you don’t, your cut crease eyeshadow won’t stick to the lid, and you’ll end up doing touch-ups all day. Maybelline has tons of great, skin-perfecting primers to choose from, including the Superstay 24 Hour Primer. Once you’ve added the primer, it’s time to apply the eyeshadow. Add your chosen shade close to the brow bone, above the lid. Dark-brown eyeshadow is usually the right choice, but if you want to take your colours to the next level, you can blend a light-brown shade on top.
Angle
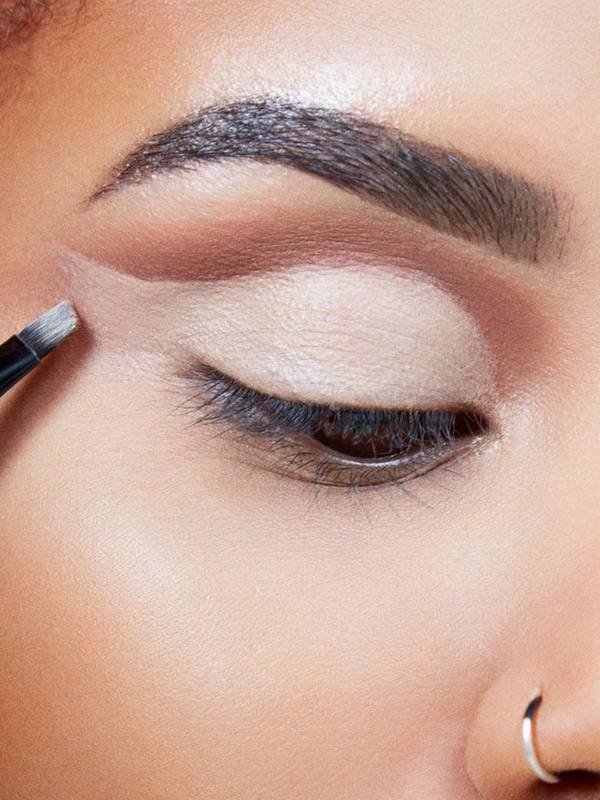
Next stop on the cut crease tutorial: setting the angle for the crease. You’ll need to use a light concealer (be sure to pick one that’s several shades lighter than your natural skin colour) – such as Maybelline’s Fit Me® Concealer – to clean up the edges of your eyeshadow. Also, the concealer serves as a base for your cut crease. Make sure you use an angled brush to sweep a thick layer of the concealer outwards so that it heads towards the tail of your eyebrow.
Cut
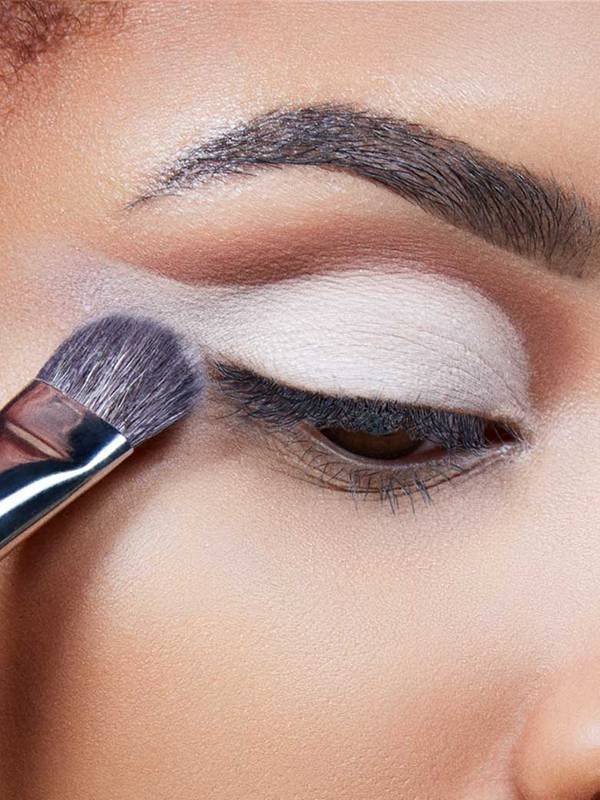
Another crucial part of learning how to do a cut crease is creating the edge. Using the Fit Me® Concealer as an outline, sweep a lighter eye shadow (for example, Maybelline’s Nudes of New York palette) from the inner corner across the lid, following the shape of your eyeball. Voila – you’ve got a dramatic cut that makes that eyeshadow pop!
Edge
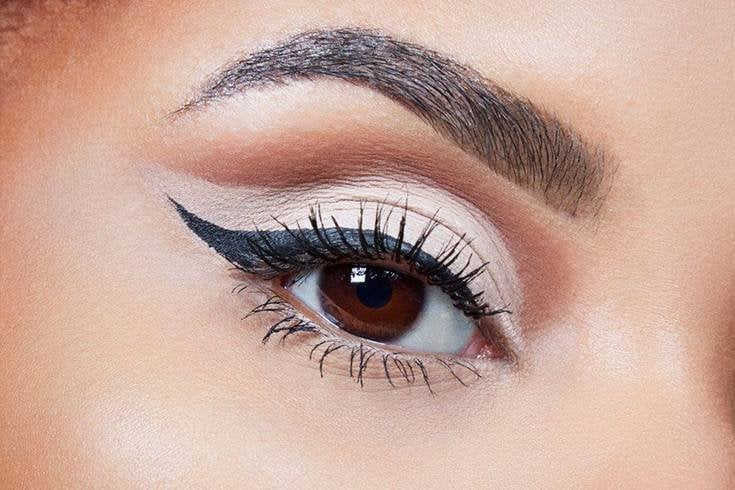
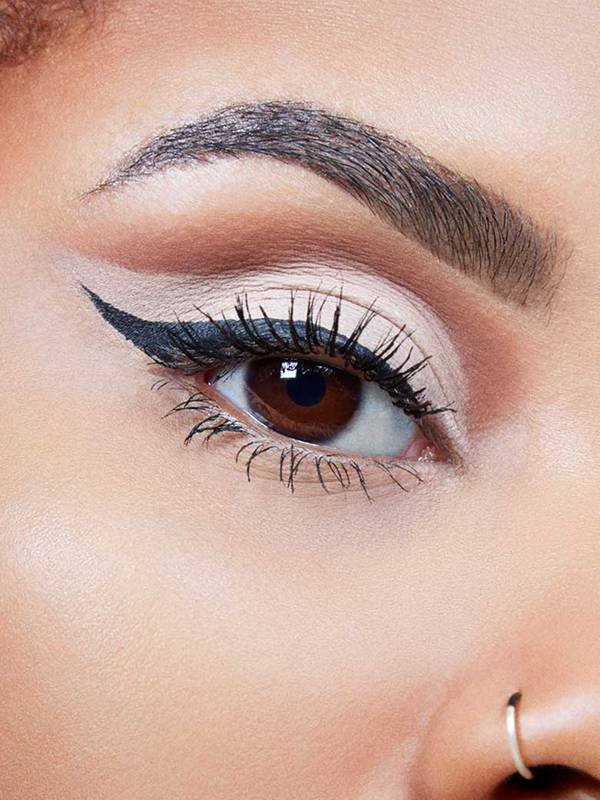
The final part of our cut crease step-by-step guide is all about the edge. Taking your eyeliner of choice – we recommend Maybelline’s long-wearing Eyestudio® Master Precise All Day Liquid Eyeliner Makeup – and line your top lashes. Angle your eyeliner upward to create a striking cat-eye look. Now, why not add some sparkles with a dash of glitter? It’s the perfect finishing touch.
HOW TO SET YOUR EYE MAKEUP
After you’ve applied your cut crease eyeshadow, it’s time to set your makeup. After all, it would be a shame not to make the look last as long as possible. Fortunately, there are lots of makeup setting techniques you can use to ensure your eyeshadow stays on for longer. Think about using Maybelline’s Superstay 24hr Setting Spray to lock down your look and stay fresh throughout the day.
Crushing on cut crease eyeshadow but aren’t sure if it’s right for you? Give it a try. The lack of blending makes your eyes appear more open, and it’s a look that works on every eye shape.