
Makeup Hacks: How To Stop Concealer from Creasing
So you’ve washed your face, applied your daily sunscreen (spf 50+ for us, thanks), dotted your concealer under your eyes… you leave your flat feeling all fresh and ready to go just to find out that lo and behold – your concealer has creased.
Hands up if you’ve been there? Yep… if you’ve noticed concealer creasing at your smile lines (no laughing matter!), under your eyes, or on your forehead – then read on. We’ll be spilling the tea on how to stop concealer from creasing once and for all in this handy guide.
How To Avoid Concealer Creasing
Learning how to put on concealer is one of the first steps to a flawless makeup look. The secret lies in learning how and where to apply concealer, especially if you want to avoid those super-annoying creases.
How To Avoid Under Eye Creasing
The best under eye concealers are formulated to be lightweight, long-lasting, and highly pigmented. Under eye concealers come in three different colour groups: green, lilac, and peach. Undecided which colour corrector to use? Green correctors neutralise redness, peach colours offset dark circles, and lilac tones contrast tired and dull looking skin.
Now that we’ve got the shades down, it’s time to learn how to apply under eye concealer without creasing:
Step 1: Prep using an eye cream and wait for it to be fully absorbed.
Step 2: Prime using a primer if you have fine lines around your eyes.
Step 3: Dab your shade of concealer under the eyes – don’t over do it, less is more!!
Step 4: Blend gently using a damp makeup sponge or dab lightly using your fingertip.
Step 5: Set using small amounts of fine or translucent powder using a fluffy brush.
Pro tip: using a damp makeup sponge can help you blend your concealer in well, avoiding creasing. Et voilà, you now know how to reduce creasing under eyes.
How To Stop Makeup From Creasing In Smile Lines
Sounds familiar? You wake up, and by some divine force (thanks, gravity) or maybe by sleeping too heavily on one side, or let’s be honest, a combination of both – you find a smile line crease staring back at you.
Wondering how to hide smile lines with makeup? Here’s our go-to technique to avoid concealer creasing:
Step 1: Prep using your go-to moisturiser to hydrate the area.
Step 2: Prime using a line smoothing or pore-filling primer.
Step 3: Apply a small amount of concealer, ideally a tone lighter than your usual colour.
Step 4: Blend well using a damp makeup sponge or dab gently using your fingertip.
Step 5: Cover with your usual foundation and then set using a makeup fixing spray.
Pro tip: using a lighter concealer helps to bring the smile line forward, creating the illusion of a brighter more youthful complexion. Setting it with a spray helps keep your crease-free look locked in.
How To Prevent Cakey Concealer When Covering Spots
Having a bad skin day? In the rush to make the zit disappear, you might go a little overboard with the concealer. Don’t – that’s the number one reason why your concealer looks cakey.
How to avoid makeup looking cakey? Follow these makeup artist approved steps:
Step 1: Treat the spot using a topical cream. If the spot is raised, apply an ice-cube to reduce swelling. If it’s dry, exfoliate to get rid of dead skin cells.
Step 2: If your skin is oily or your spot is raised, apply a small amount of mattifying primer.
Step 3: Choose the right shade of concealer. If your spot is red, contrast it using a green-tinted concealer, if your spot left a mark, hide it with a peach-coloured tint.
Step 4: Apply small amounts of concealer using a fine brush or your fingertip, avoid using a damp sponge as it’ll absorb too much product. Build up the coverage gradually, as adding too much concealer will give a cakey effect.
Step 5: Set using fine or translucent powder and fix with a makeup setting spray.
Pro tip: if your spot is textured, focus on minimising the shiny effect using a mattifying primer and powder – this will reduce the appearance of the spot without having to resort to using too much concealer.
When to Apply Concealer
You now know how to prevent concealer creasing. But you may now be wondering: which comes first? Do you apply concealer before foundation, or the other way round? The answer to this age-old riddle lies not in a universal truth but rather, in what you’re using concealer for.
When to Use Concealer Before Foundation
Apply concealer before foundation if you are using it to:
- Colour correct: if you’re using a green, lilac, or peach tinted corrector, it’s best to apply it before your foundation.
- Need minimal coverage: if you only need to cover a spot, apply your corrector before to minimise the use of foundation later.
When to Use Concealer After Foundation
Instead, use concealer on top of your foundation if you want to:
- Brighten the under eye area: applying a lighter concealer to your under eye area after foundation can help create the illusion of brighter skin.
- Fuller coverage and contour: if you’re looking for full coverage, applying concealer after your foundation ensures you can build up the coverage or highlight features without the cakey effect.
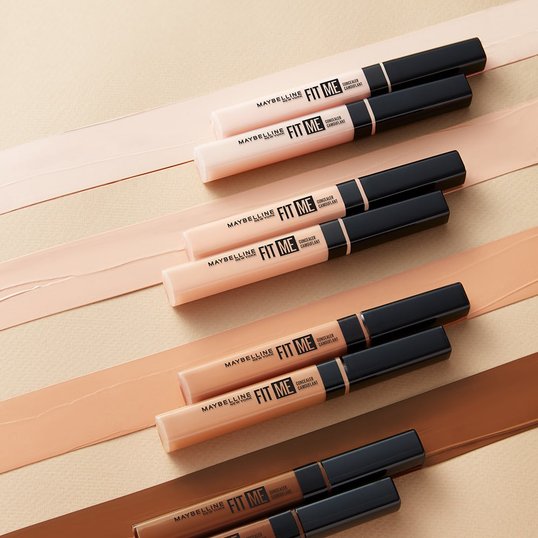
Ready to flaunt your crease-free, non cakey concealer look? Check out our range of Maybelline concealers for the best non crease concealer for your needs.